 Julie Drew Where Art Meets Faith
Online-Class (2)
Student Portal for Online Classes
Thursday Afternoon Watercolor Sessions - Online Class
For each class, I will have you send me an image of what you would like to work on and send a picture of your painting to that point. (Take a picture with your camera or phone download it to your computer to send in an email. Let me know if you have trouble with this and we will look into alternatives.) Also include in your email any questions you might have about the painting or the process.
During the class time I will go through the images that were sent in and answer questions you and the other students have. The “class time” will be recorded so that even if you have to miss it, if you sent in your images and questions, I will cover them during the “class time.”
The class time sessions will be split between answering questions, helping with paintings and showing some demonstrations. There will be an assignment for each of you based on the photo reference you want to work on. As not everyone is an independent worker, there will also be a video available each week for you to learn from if you choose to and want more direction.
![]() Recommended floral watercolor supply list
Recommended floral watercolor supply list
Thursday Afternoon Watercolor Sessions - Week 4
Dec 10, 2020
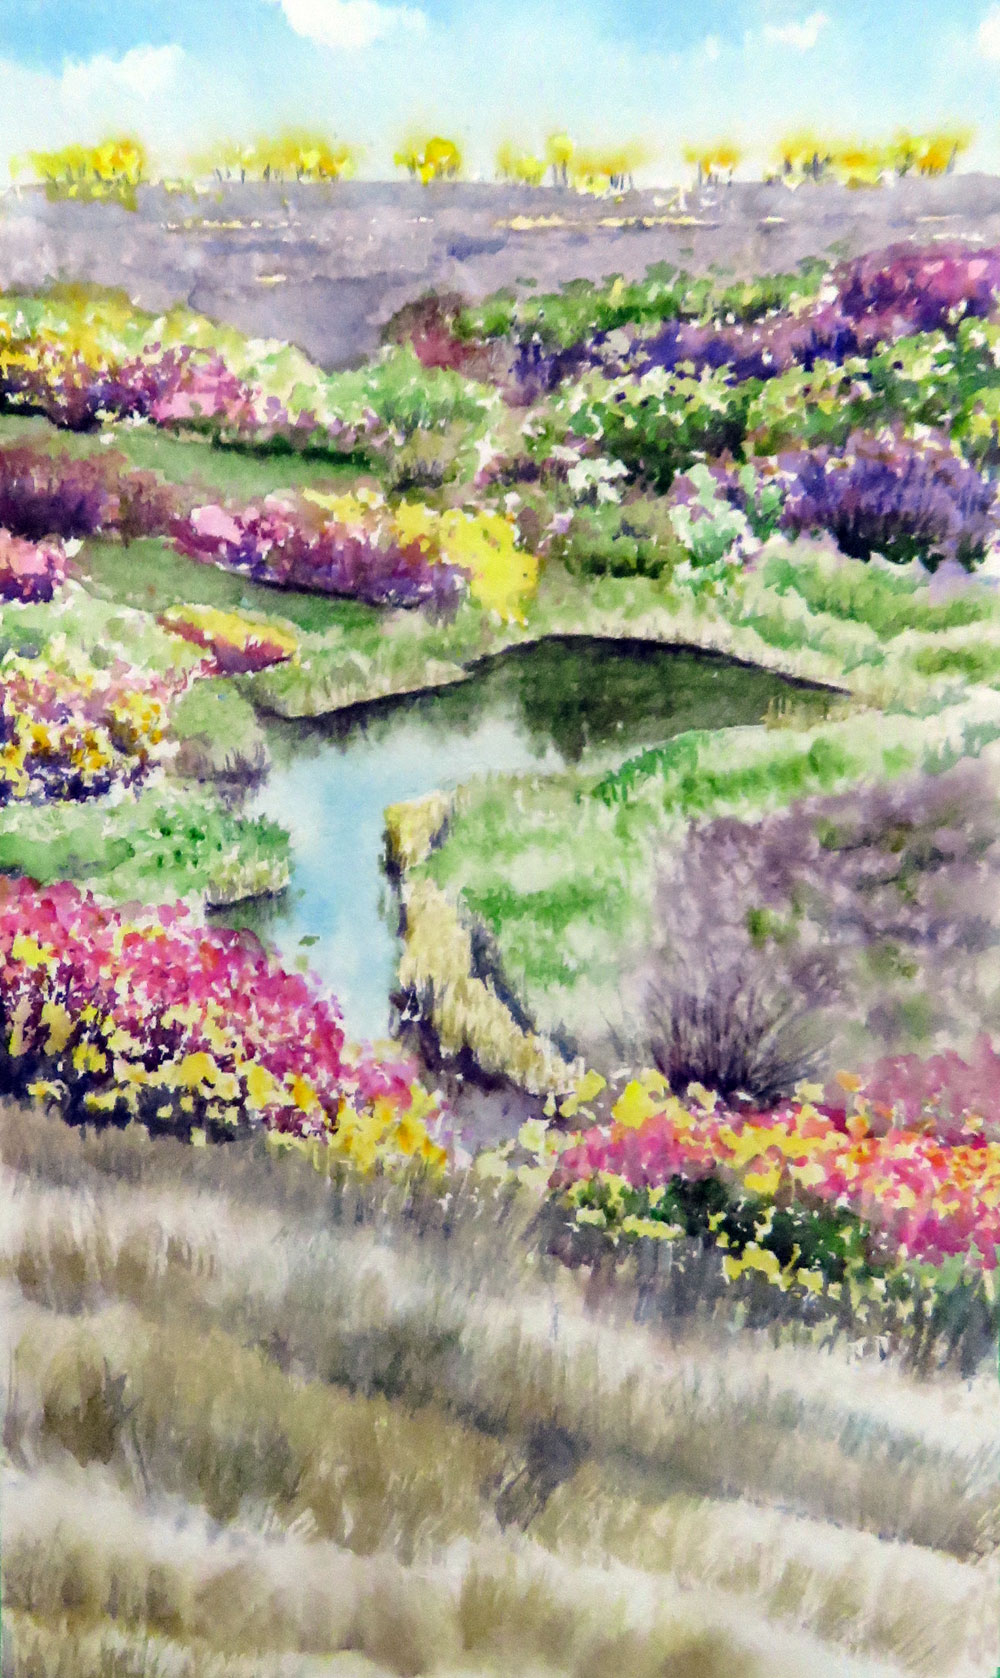
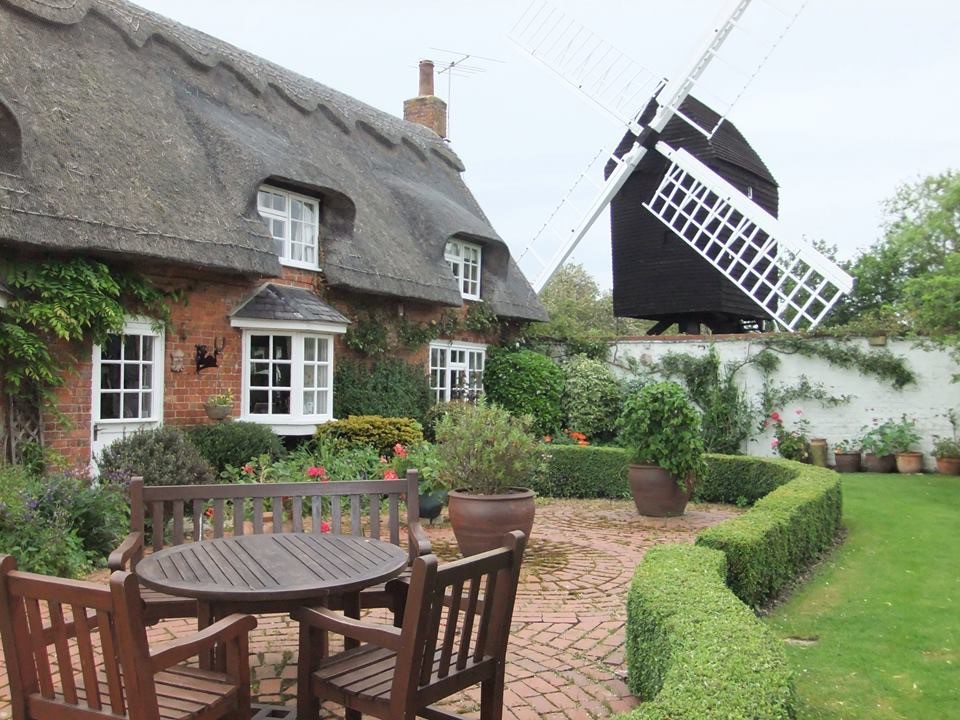
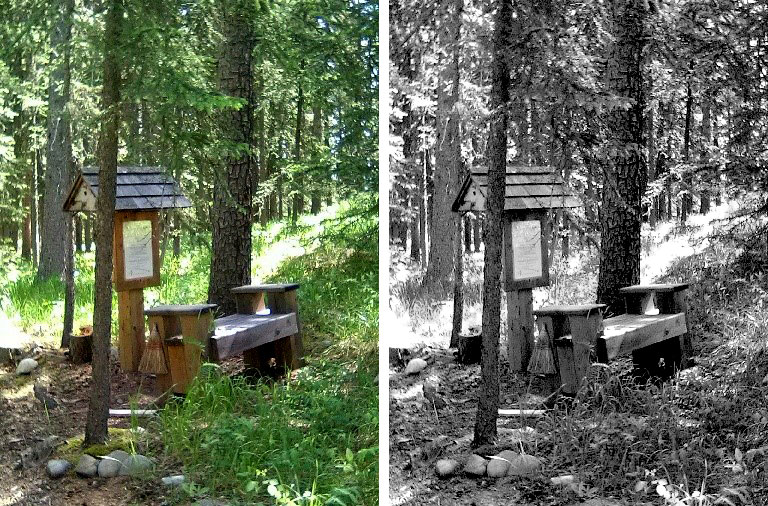
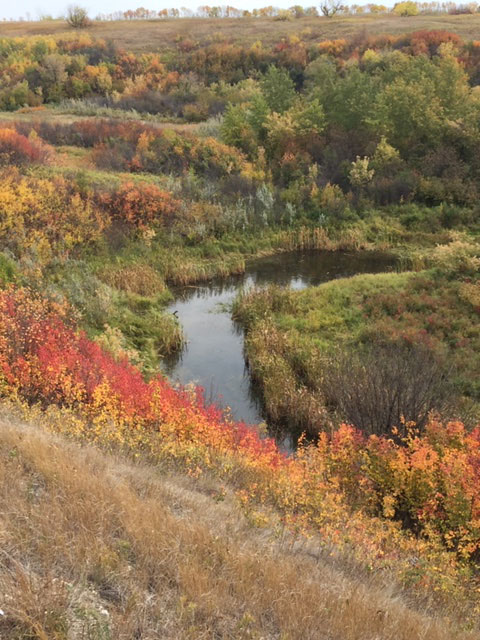
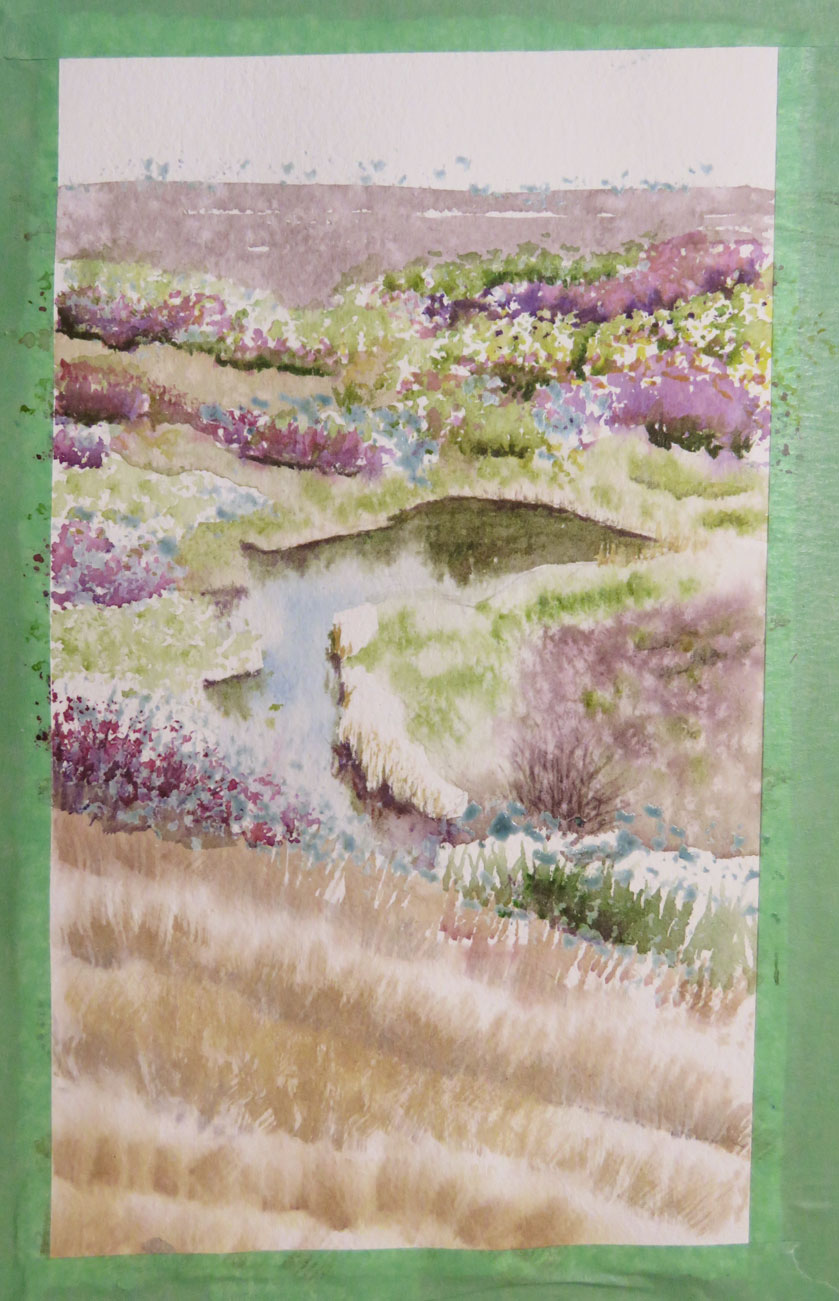
The white in the grass could be filled in more. I would take it slow with more of the same colors in dry brushing it so that I do not lose the light. (The image i worked from, from marji is dwon below here).
I separated the videos - the first is the demo, the second is the conversation about paintings you are working on.
Thursday Afternoon Watercolor Sessions - Week 3
Dec 3, 2020
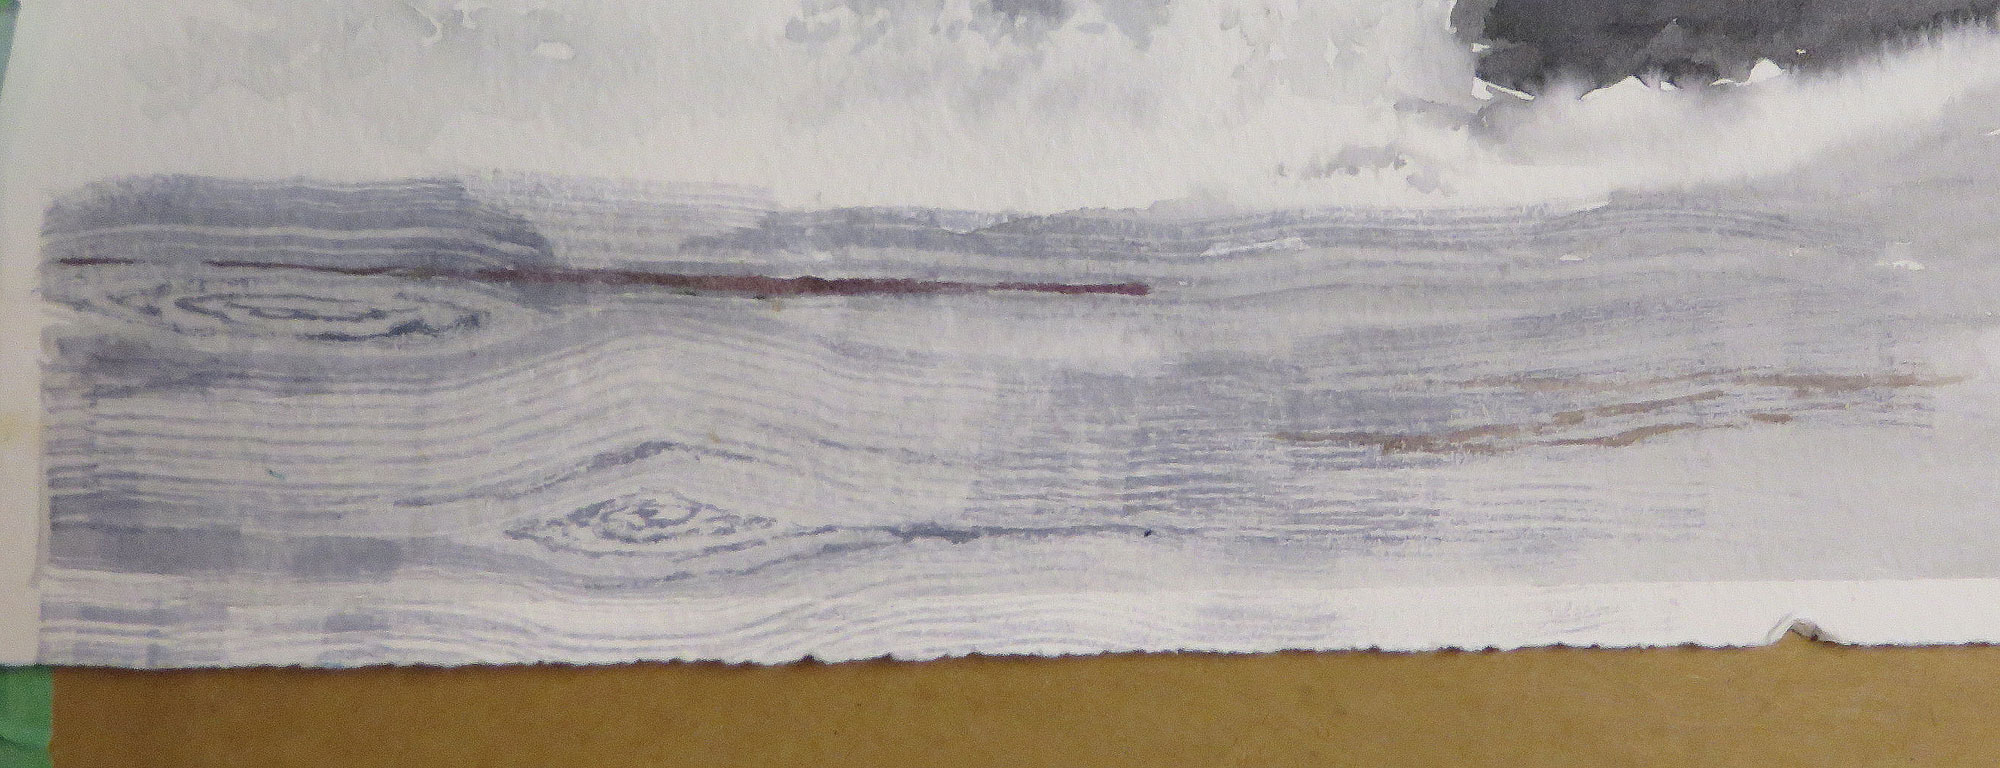
This video has some additional camera angles with a better quality of image from the class time. Let me know what you think of it. The details of the woodgrain especially is clearer.
Thursday Afternoon Watercolor Sessions - Week 2
November 26, 2020
(Coming soon) I have a second video of hay bales you can watch to see how I defind tree lines after both salt layer and sponged layers. There is more "pushing and pulling as i define the grass (negative space) around the \hay bales (positve space).
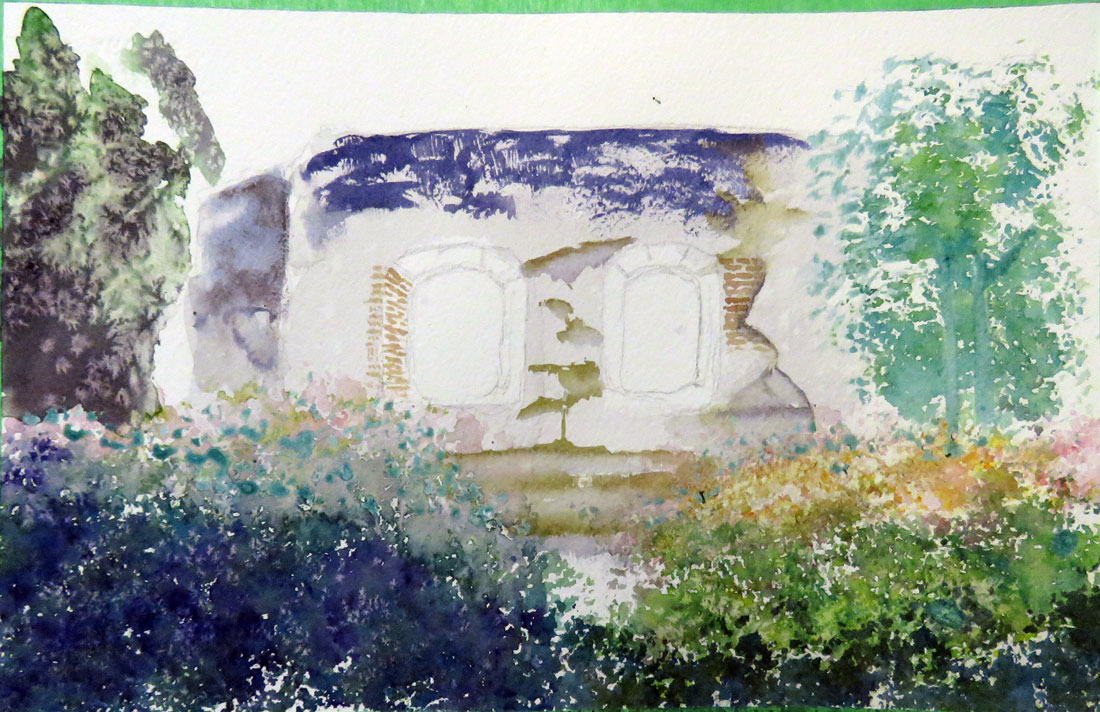
The blue masking is still on this painting in the top of the foreground bushed and on leaves and the trunks of the tree on the right side.
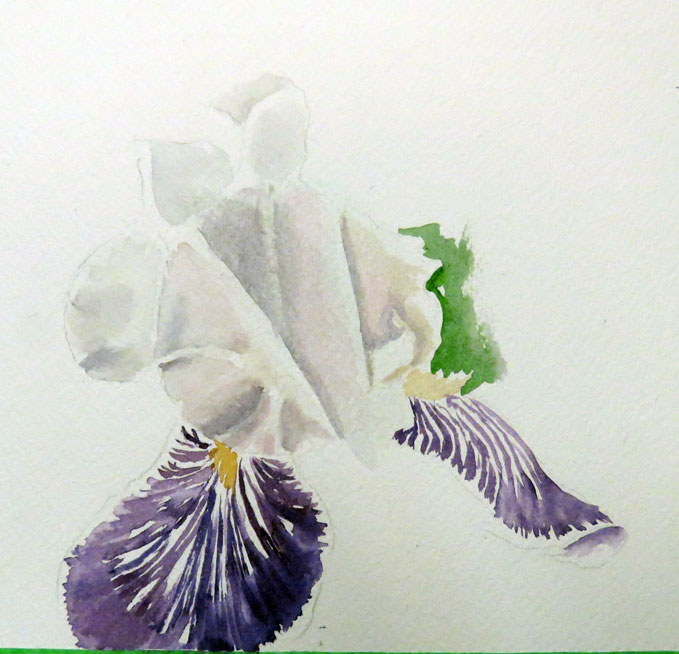
Remember the colors of white are stronger than needed - so that you could see it in the webcam during the filming. Notice the pink-gray that was not distinguishable in video. The green shows the dffference the negative space has in shaping the petals.
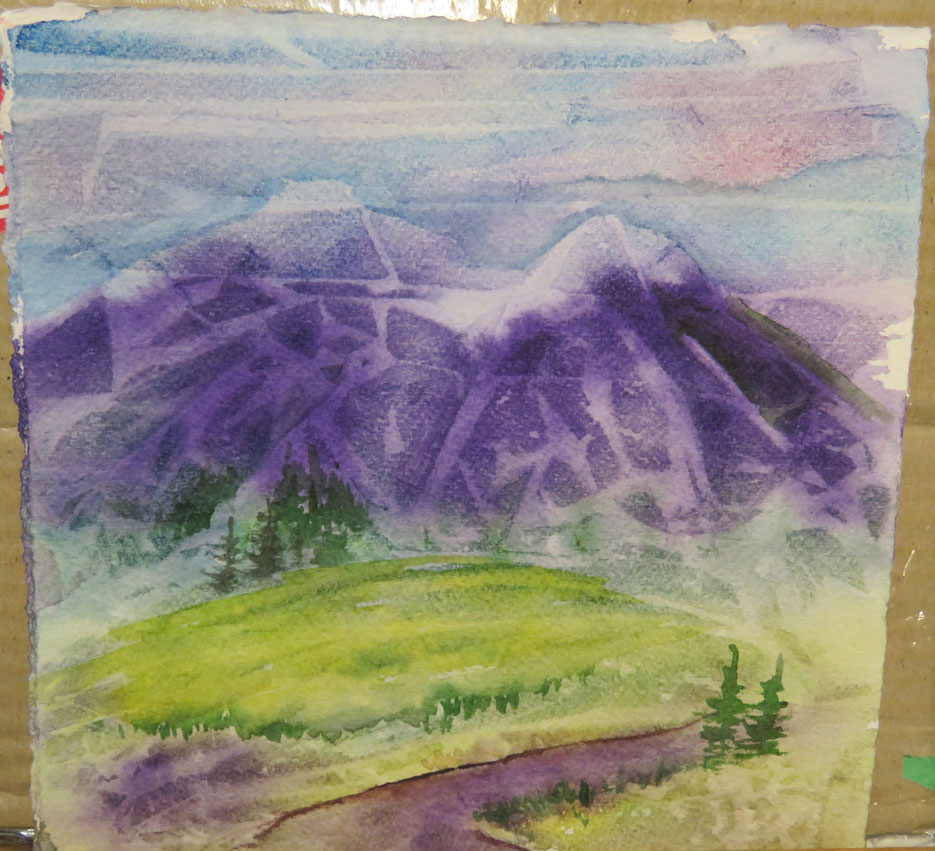
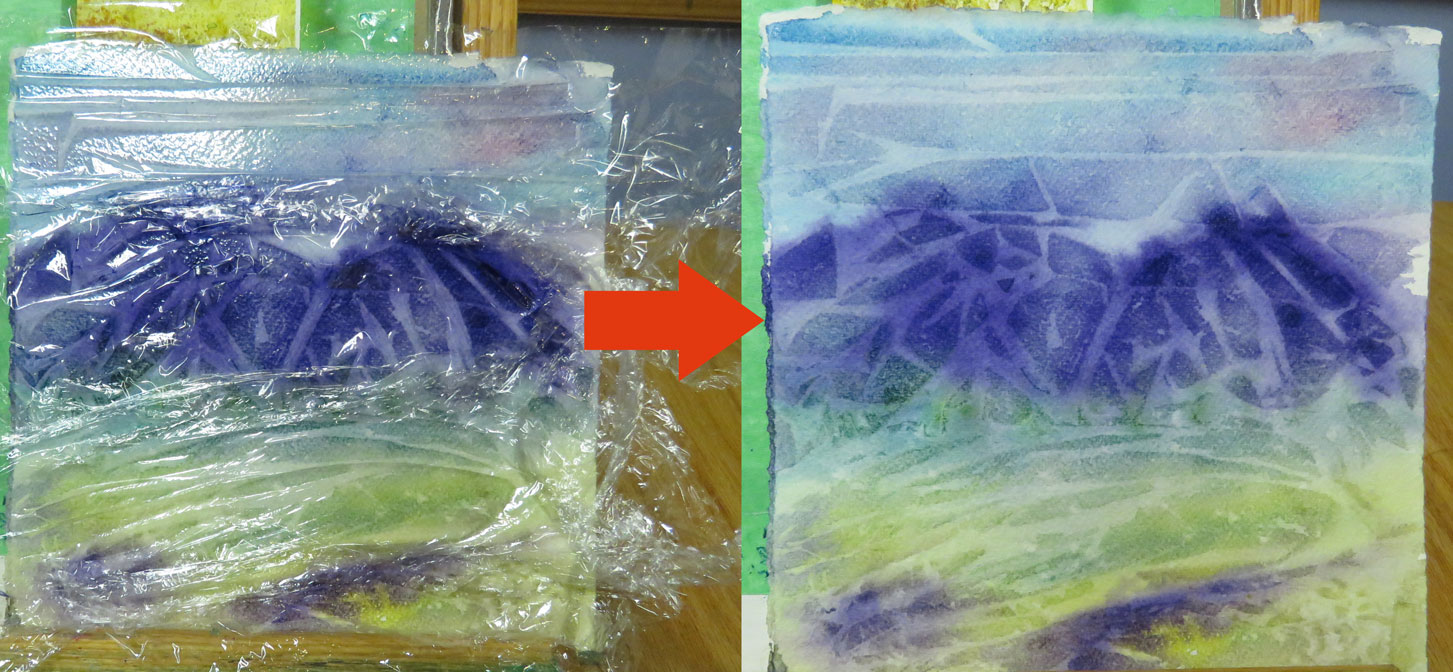
The following image is the cling wrap demo. and what it looked like when I took off the cling wrap. When I go to shape it with pushing/pulling, I may move the top of the mountain into the sky following the paths of lines from the cling wrap.
Thursday Afternoon Watercolor Sessions - Week 1
November 19, 2020
Good afternoon, Class. Here ia a demonstration of sponge painting trees in fall colors. Sponging can be used to create texture in other ways as well: on rocks, paths and other foliage.
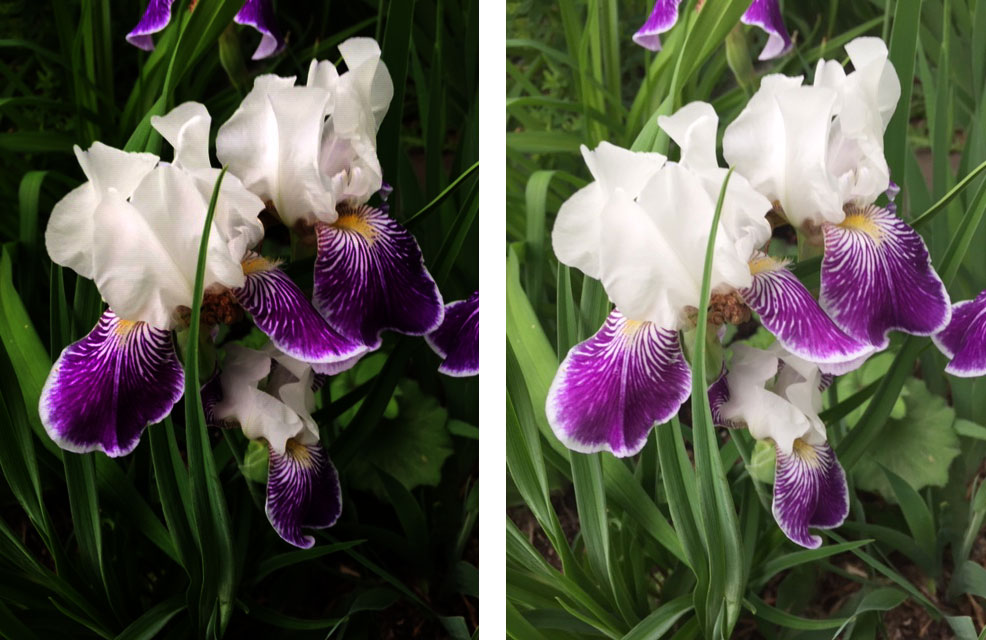
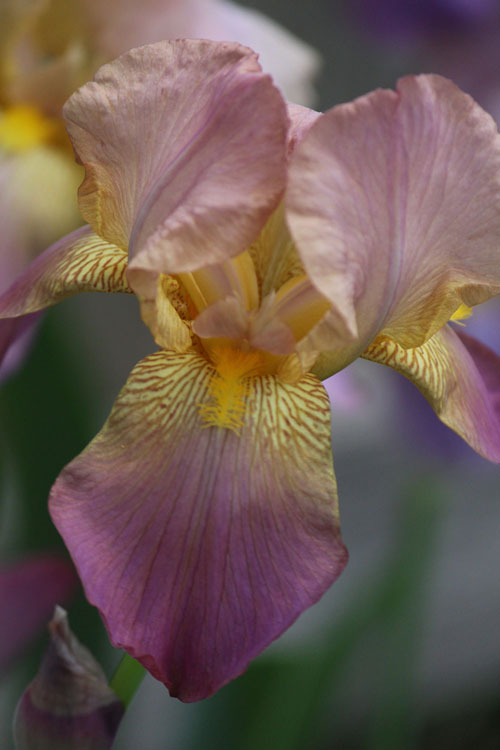
Below is the Beginning of painting an Iris: drawing the iris and laying in the first layers of paint.
